
As a distributed system, DC/OS is itself a distributed system, a cluster manager, a container platform, and an operating system. It includes a group of agent nodes with different responsibilities. To configure the whole system is not easy. Luckily, there is a tool named minidcos, which allow you to deploy “fake” agent nodes on the same machine, even a laptop.
This serial of articles aim to document all the details of install minidcos, configure the “fake” cluster and deploy services there.
Install minidcos
You can follow the instructions to install minidcos.
I did it on Ubuntu 18.04.5. First, install the missing software.
|
1 2 3 4 |
> sudo apt update > sudo apt install -y git python3-dev python3.6-dev libffi-dev libssl-dev git python3-pip > sudo pip3 install setuptools |
Install the minidcos through pip.
|
1 |
> pip3 install --user --upgrade git+https://github.com/dcos/dcos-e2e.git |
Note: here the official instruction has some mistakes. Use mine.
Next step is to install docker.
|
1 2 3 4 5 |
> sudo apt install docker.io # add yourself into docker group > sudo groupadd docker > sudo usermod -aG docker $USER |
Need to restart/re-login to make sure your account is in docker group.
Use following command to test if minidcos and docker are installed correctly.
|
1 |
> minidcos docker doctor |
If there is any errors/warnings, you probably need to fix them.
minidcos supports different environments to manage the DC/OS cluster, such as AWS, Docker and Vagrant. Docker is the most familiar tool for me so I will use it in my rest explanation.
|
1 2 3 4 5 6 7 8 9 10 11 12 13 |
> minidcos Usage: minidcos [OPTIONS] COMMAND [ARGS]... Manage DC/OS clusters. Options: --version Show the version and exit. -h, --help Show this message and exit. Commands: aws Manage DC/OS clusters on AWS. docker Manage DC/OS clusters on Docker. vagrant Manage DC/OS clusters on Vagrant. |
Download DC/OS installation package
Some blogs suggest you to use “dcos download-installer” to download the latest DC/OS installation package. But as I tried, minidcos doesn’t work well with the latest DC/OS version. So I suggest you to download DC/OS 1.12.5 by this link. (All versions can be found on this page.) Because of it, you can’t try the latest features in newer DC/OS version at this moment.
Launch DC/OS Cluster
I downloaded DC/OS 1.12.5 (dcos_generate_config.sh) onto ~/dcos. It’s time to launch it. By the following command, the “fake” DC/OS cluster (named “default“) will be brought up.
|
1 2 3 4 5 6 7 |
> cd ~/dcos > minidcos docker create ./dcos_generate_config.sh --agents 1 ✔ Determining DC/OS variant ✔ Creating cluster ✔ Installing DC/OS Cluster "default" has started. Run "minidcos docker wait --cluster-id default" to wait for DC/OS to become ready. default |
Depends on how powerful your environment is, it may take some time to finish the deployment. Use following command to check.
|
1 2 3 4 5 6 7 |
> minidcos docker wait --cluster-id default A cluster may take some time to be ready. The amount of time it takes to start a cluster depends on a variety of factors. If you are concerned that this is hanging, try "minidcos docker doctor" to diagnose common issues. ✔ Waiting for DC/OS variant If you cancel this command while it is running, you may not be able to log in. To resolve that, run this command again. ✔ Waiting for DC/OS to start |
If you want to find more logs, add “-vvvvv“. (P.S., That’s also how I found minidcos doesn’t support newer DC/OS version well.)
Open DC/OS Management Dashboard
When the cluster is launched, you can log into the management dashboard.
|
1 |
> minidcos docker web |
After this command, the dashboard page (http://172.17.0.2) should be opened in browser.
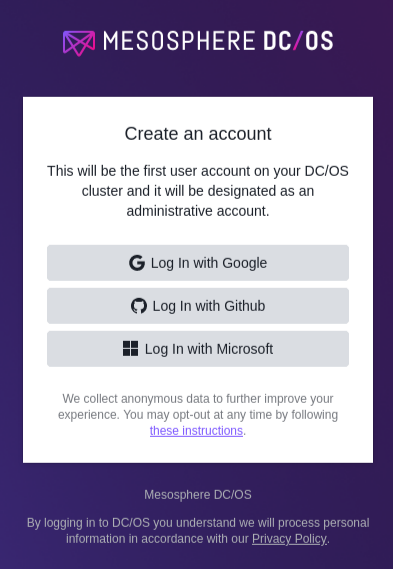
I chose “Log in with Google” and the dashboard will finally pop up.
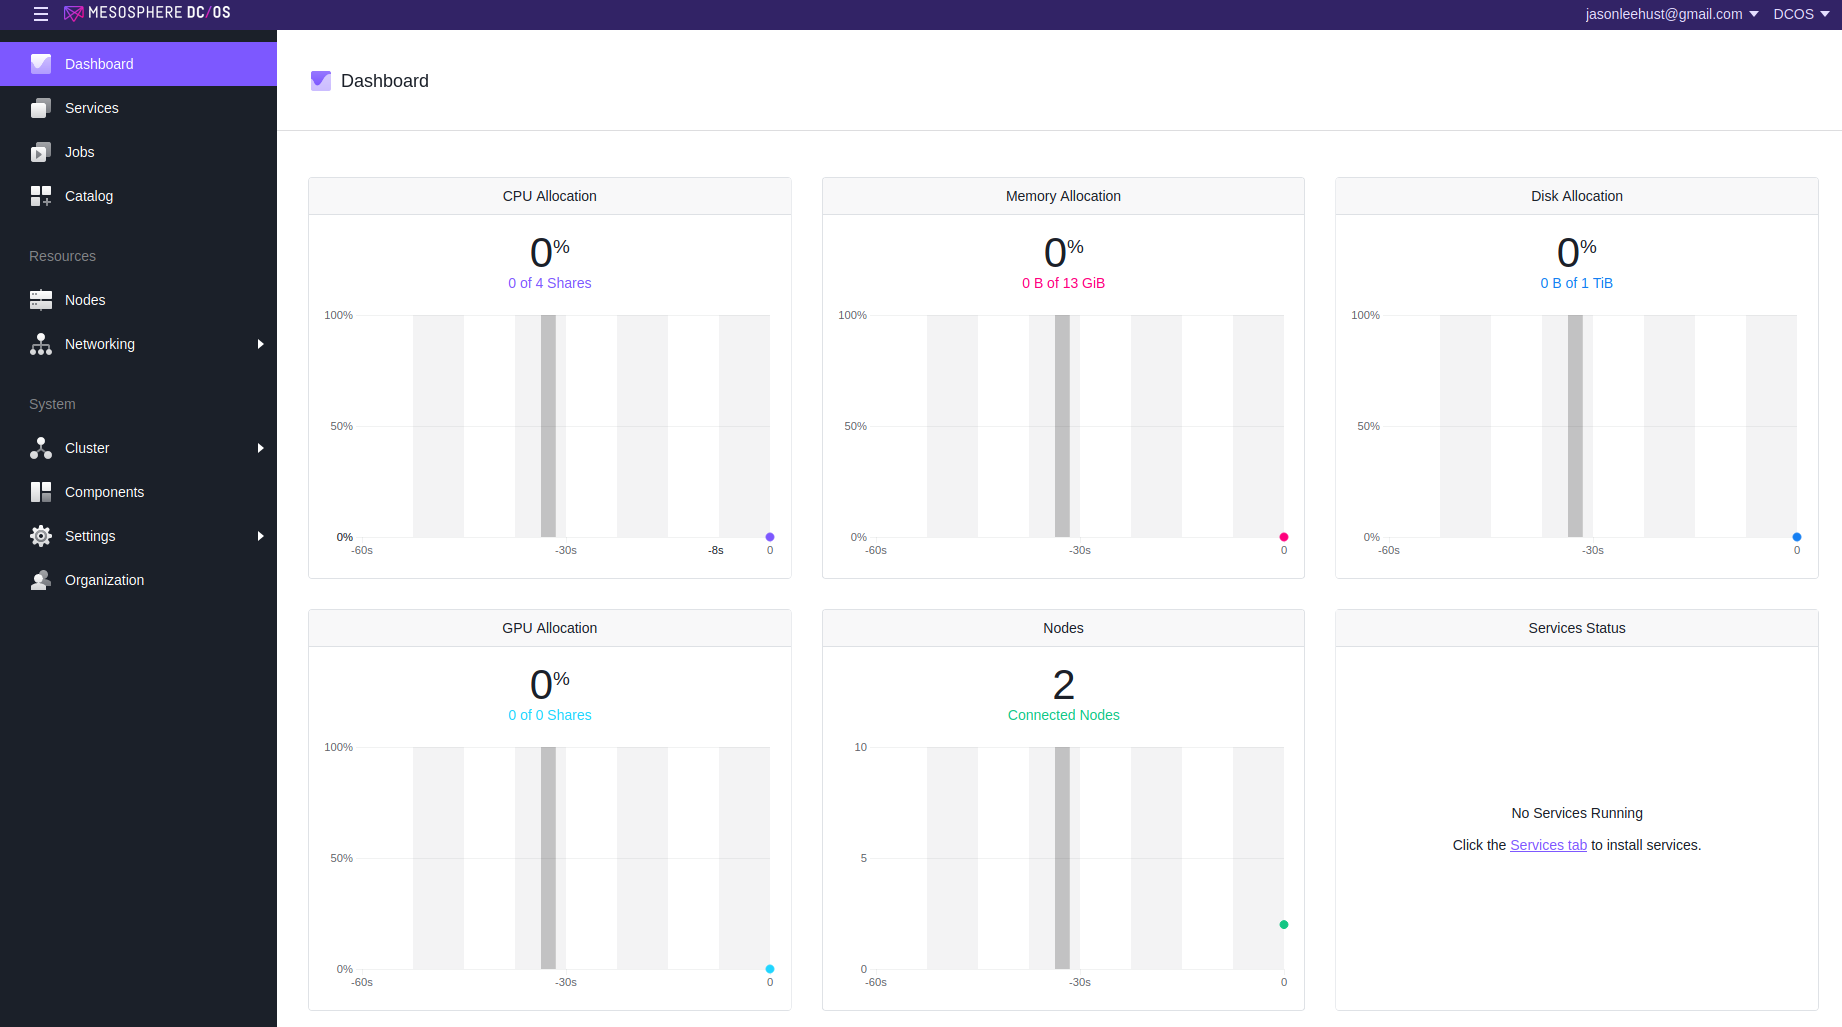
The dashboard panel shows the usage of memory, CPU, disk, GPU, nodes and etc.
Something Under the Hood…
minidcos is using docker container to run the master/agent nodes.
|
1 2 3 4 5 |
> docker ps -s CONTAINER ID IMAGE COMMAND CREATED STATUS PORTS NAMES SIZE e6434c3253ca mesosphere/dcos-docker "/sbin/init" 26 minutes ago Up 26 minutes dcos-e2e-default-4baab-public-agent-0 701kB (virtual 558MB) 6674717280a3 mesosphere/dcos-docker "/sbin/init" 26 minutes ago Up 26 minutes dcos-e2e-default-4baab-agent-0 697kB (virtual 558MB) 5ee702583ad7 mesosphere/dcos-docker "/sbin/init" 26 minutes ago Up 26 minutes dcos-e2e-default-4baab-master-0 68MB (virtual 625MB) |
There are three nodes running – master, public node and (private) node. Each of it runs Centos 7 image.
|
1 2 3 4 5 6 7 8 9 10 11 12 |
> docker exec -it dcos-e2e-default-4baab-master-0 bash [root@dcos-e2e-default-4baab-master-0 /]# cat /etc/os-release NAME="CentOS Linux" VERSION="7 (Core)" ID="centos" ID_LIKE="rhel fedora" VERSION_ID="7" PRETTY_NAME="CentOS Linux 7 (Core)" ANSI_COLOR="0;31" CPE_NAME="cpe:/o:centos:centos:7" HOME_URL="https://www.centos.org/" BUG_REPORT_URL="https://bugs.centos.org/" |
DC/OS software runs on these nodes.And in each node, there runs another docker environment. I believe it’s needed by later service deployment.
|
1 2 |
[root@dcos-e2e-default-4baab-master-0 /]# docker images REPOSITORY TAG IMAGE ID CREATED SIZE |
And another useful command is “minidcos docker inspect“. With it, you can find more details of the cluster, such as the cluster id, IP addresses of each node, containers and etc.
|
1 2 3 4 5 6 7 8 9 10 11 12 13 14 15 16 17 18 19 20 21 22 23 24 25 26 27 28 29 30 31 32 33 34 35 36 37 38 |
yli@yli-Latitude-E6500:~/dcos$ minidcos docker inspect { "Cluster ID": "default", "DC/OS Variant": "DCOSVariant.OSS", "Nodes": { "agents": [ { "docker_container_id": "6674717280a309f24549993d14d4ba5214a7fcbd124c392651689c056040b6a3", "docker_container_name": "dcos-e2e-default-4baab-agent-0", "e2e_reference": "agent_0", "ip_address": "172.17.0.3", "ssh_key": "/tmp/e099e46b28b44a6a90646c4812460c20/ssh/id_rsa", "ssh_user": "root" } ], "masters": [ { "docker_container_id": "5ee702583ad7a4760b94bdd070996be5fbe7e9ba3495694da53acfdf9a433b75", "docker_container_name": "dcos-e2e-default-4baab-master-0", "e2e_reference": "master_0", "ip_address": "172.17.0.2", "ssh_key": "/tmp/e099e46b28b44a6a90646c4812460c20/ssh/id_rsa", "ssh_user": "root" } ], "public_agents": [ { "docker_container_id": "e6434c3253ca88bce4788e2af776e664206b231492be3ad13c1aefc86d9a075a", "docker_container_name": "dcos-e2e-default-4baab-public-agent-0", "e2e_reference": "public_agent_0", "ip_address": "172.17.0.4", "ssh_key": "/tmp/e099e46b28b44a6a90646c4812460c20/ssh/id_rsa", "ssh_user": "root" } ] }, "Web UI": "http://172.17.0.2" } |
Conclusion
By far, the installation and initial launch is finished. Hope it’s helpful to you. And in next chapter, let’s run some services on this platform.