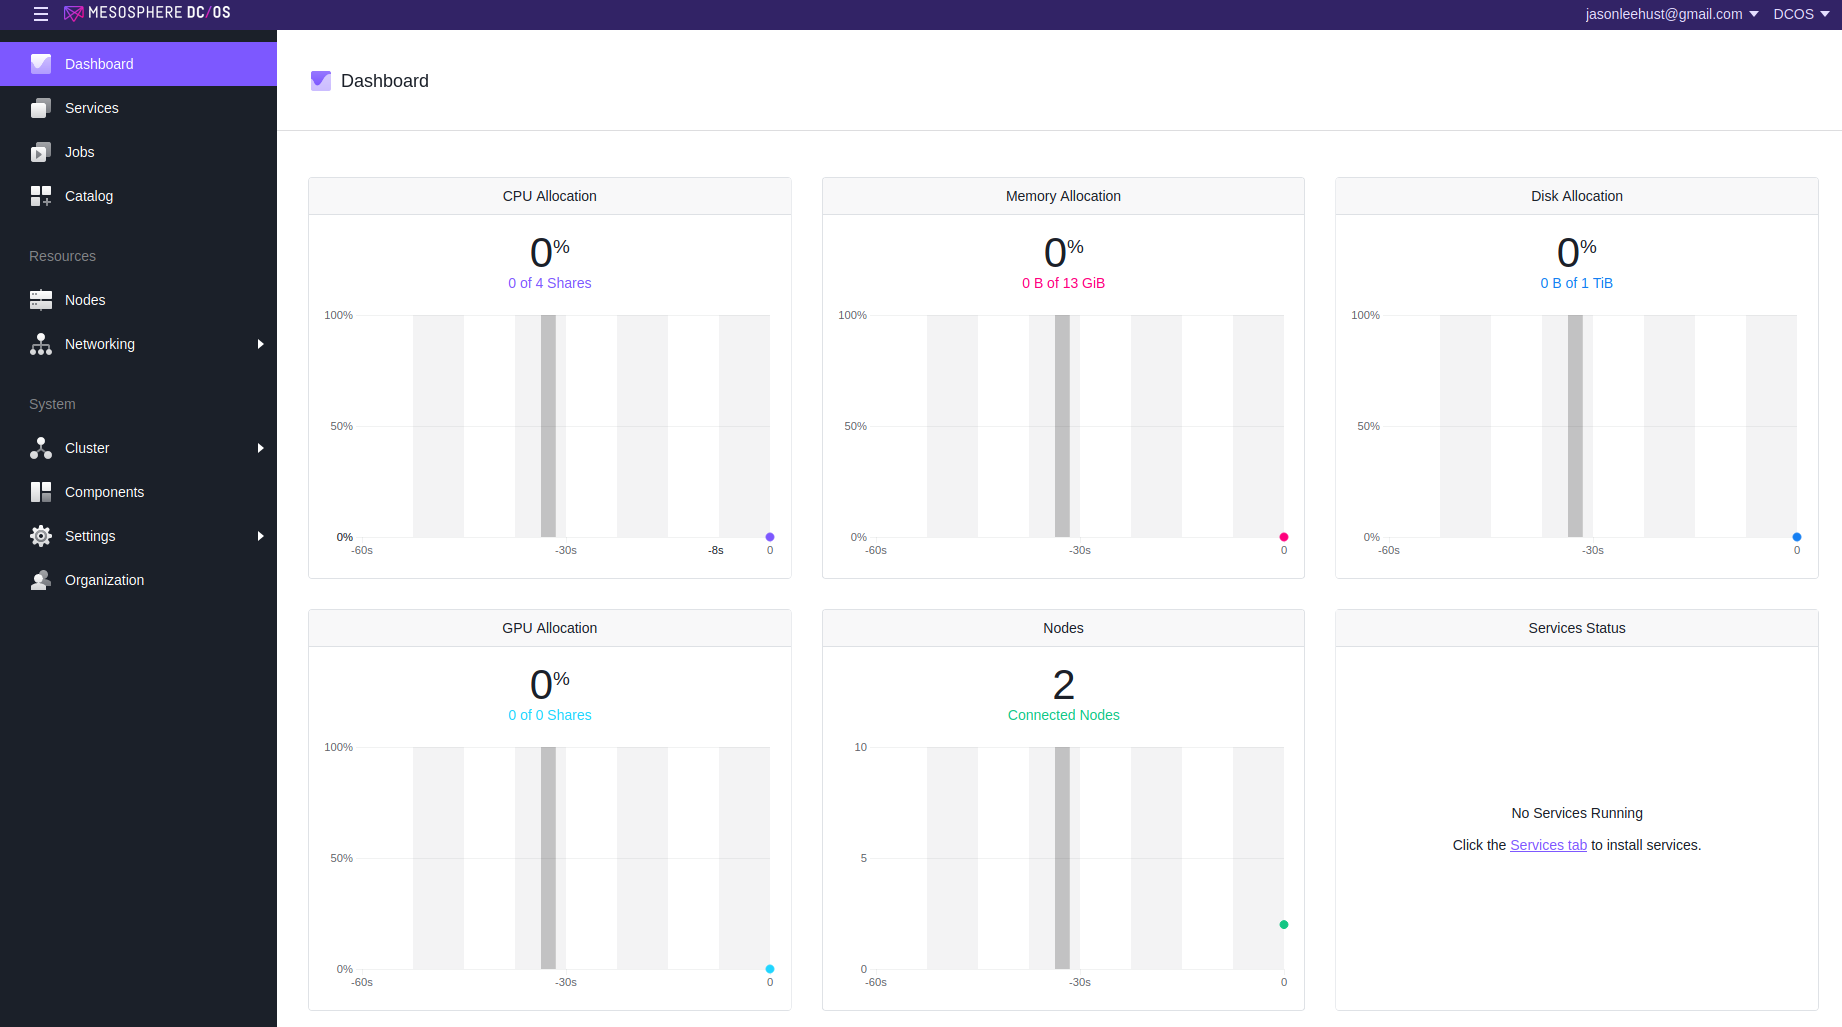
In Part II, we deployed a service on the private node and in this part, let me talk about how to use marathon-lb to expose it onto the public node. For more details of Marathon and Marathon-LB, please check here.
Install Marathon-LB
With CLI, it’s easy to install marathon-lb, which is a package of DC/OS.
|
1 2 3 4 5 6 7 8 9 |
> dcos package install marathon-lb By Deploying, you agree to the Terms and Conditions https://mesosphere.com/catalog-terms-conditions/#community-services We recommend at least 2 CPUs and 1GiB of RAM for each Marathon-LB instance. *NOTE*: For additional ```Enterprise Edition``` DC/OS instructions, see https://docs.mesosphere.com/administration/id-and-access-mgt/service-auth/mlb-auth/ Continue installing? [yes/no] yes Installing Marathon app for package [marathon-lb] version [1.15.0] Marathon-lb DC/OS Service has been successfully installed! See https://github.com/mesosphere/marathon-lb for documentation. |
As you can see, the marathon-lb 1.15.0 is installed successfully. By default, it requires 2 CPU with 1GB memory. You can also adjust it from DC/OS GUI. In my testing, I need to remove “net.ipv4.tcp_max_orphans=60000” from Marathon-LB’s “Sysctl Params“. Otherwise, the service will be brought up.
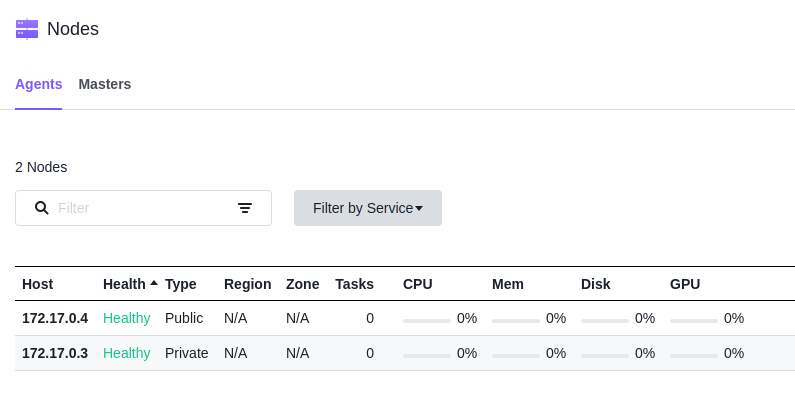
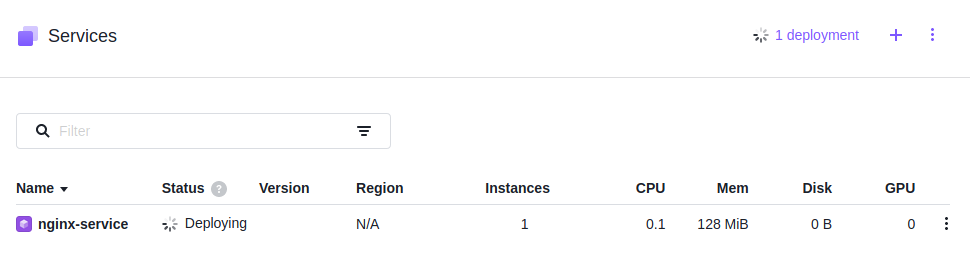
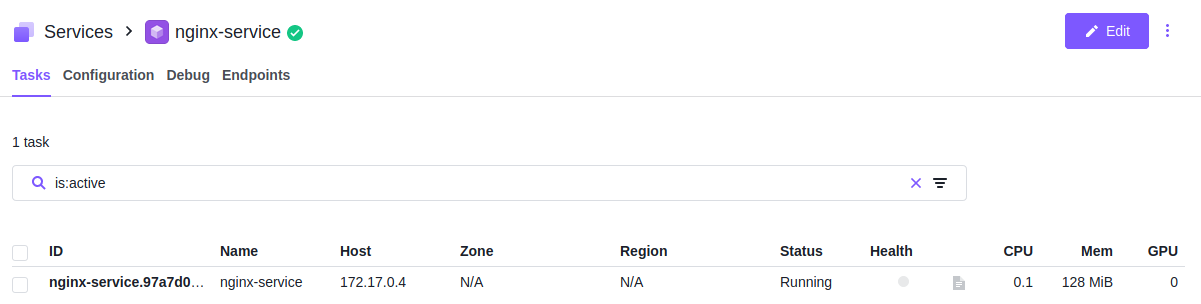
You will find the marathon-lb service is up and it’s deployed on the public node.
|
1 2 3 4 5 6 7 8 9 10 11 |
> dcos marathon app list ID MEM CPUS TASKS HEALTH DEPLOYMENT WAITING CONTAINER CMD /marathon-lb 256 1 1/1 1/1 --- False DOCKER N/A /nginx-service 128 0.1 1/1 N/A --- False DOCKER N/A /nginx-service2 128 0.1 1/1 N/A --- False DOCKER N/A > dcos task NAME HOST USER STATE ID MESOS ID REGION ZONE marathon-lb <strong>172.17.0.4</strong> root R marathon-lb.8bcefb33-5a3b-11eb-8525-70b3d5800002 41f320ba-c2f6-44db-a454-d31621b1c57c-S0 --- --- nginx-service 172.17.0.3 root R nginx-service.97a7d02f-5a21-11eb-8525-70b3d5800002 41f320ba-c2f6-44db-a454-d31621b1c57c-S0 --- --- nginx-service2 172.17.0.3 root R nginx-service2.d327bd30-5a37-11eb-8525-70b3d5800002 41f320ba-c2f6-44db-a454-d31621b1c57c-S1 --- --- |
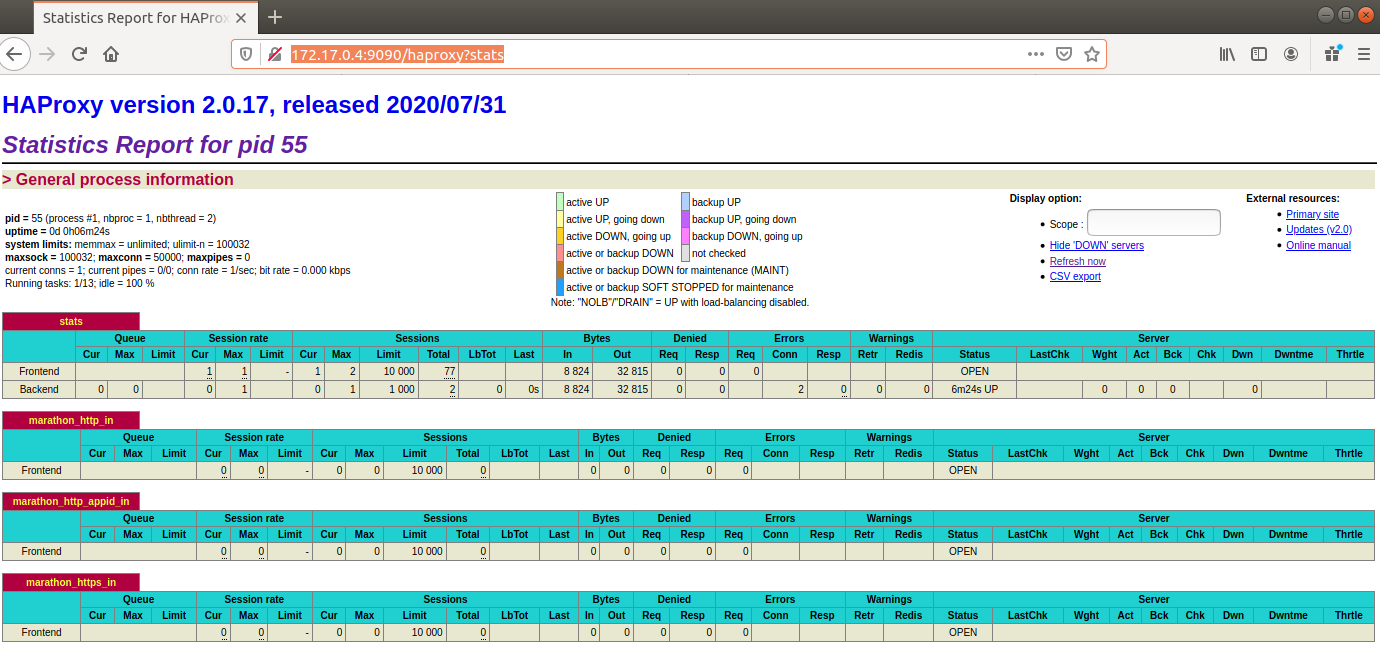
Since marathon-lb uses HAProxy as its backend, we can access the HAProxy statistic panel through http://172.17.0.4:9090/haproxy?stats.
Expose the Nginx Service with Marathon-LB
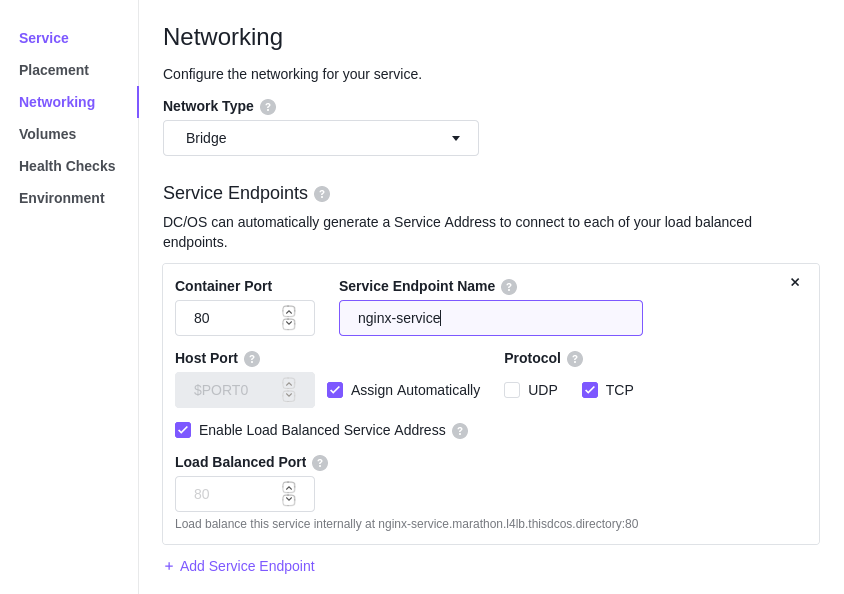
To expose the nginx service, we can simply add following label “HAPROXY_GROUP: external” tn the configuration.
|
1 2 3 4 5 6 7 8 9 10 11 12 13 14 15 16 17 18 19 20 |
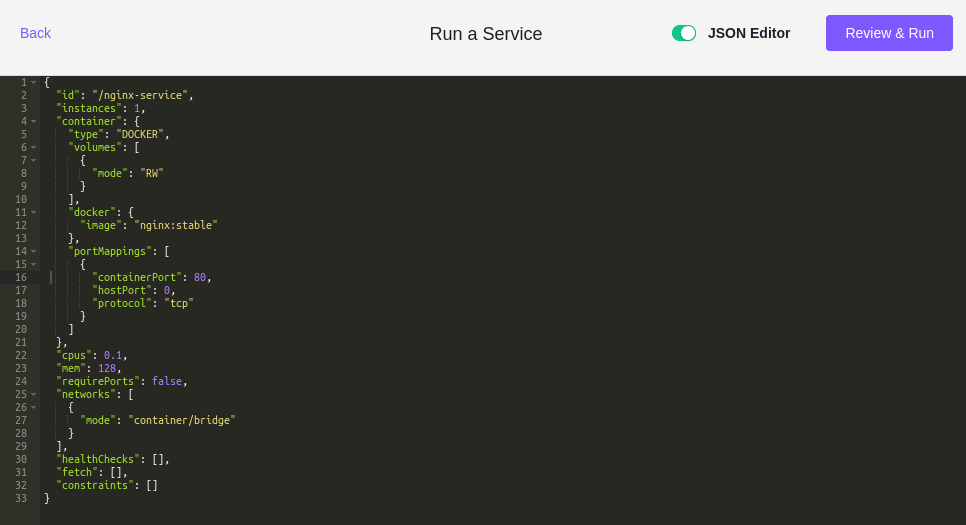
{ ... "container": { "portMappings": [ { "containerPort": 80, "hostPort": 0, "labels": { "VIP_0": "/nginx-service:80" }, "protocol": "tcp", "servicePort": 10000, "name": "nginx-service" } ], "labels": { "HAPROXY_GROUP":"external" }, ... } |
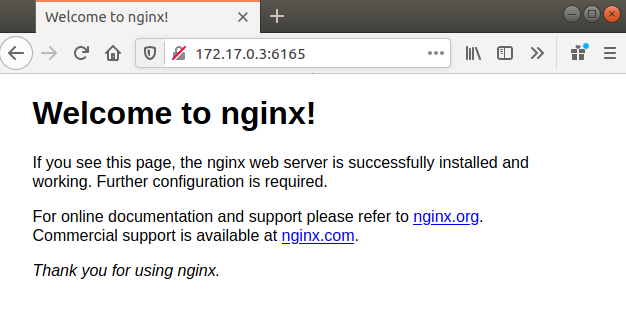
After relaunching the nginx service, you can access the nginx from public node (172.17.0.4) on service port 10000, which the real service runs on the private node (172.17.0.3).
|
1 2 3 4 5 6 7 8 9 10 11 12 13 14 15 16 17 18 19 20 21 22 23 24 25 26 |
> curl http://172.17.0.4:10000 <!DOCTYPE html> <html> <head> <title>Welcome to nginx!</title> <style> body { width: 35em; margin: 0 auto; font-family: Tahoma, Verdana, Arial, sans-serif; } </style> </head> <body> <h1>Welcome to nginx!</h1> <p>If you see this page, the nginx web server is successfully installed and working. Further configuration is required.</p> <p>For online documentation and support please refer to <a href="http://nginx.org/">nginx.org</a>.<br/> Commercial support is available at <a href="http://nginx.com/">nginx.com</a>.</p> <p><em>Thank you for using nginx.</em></p> </body> </html> |