CLion from JetBrains provides very good support on CUDA development. This post will mainly talk about how to create a CUDA project in CLion in Windows and how to solve problem when using CUDA 11.2.
Prerequisites
Before creating CUDA project in CLion, please install the following softwares.
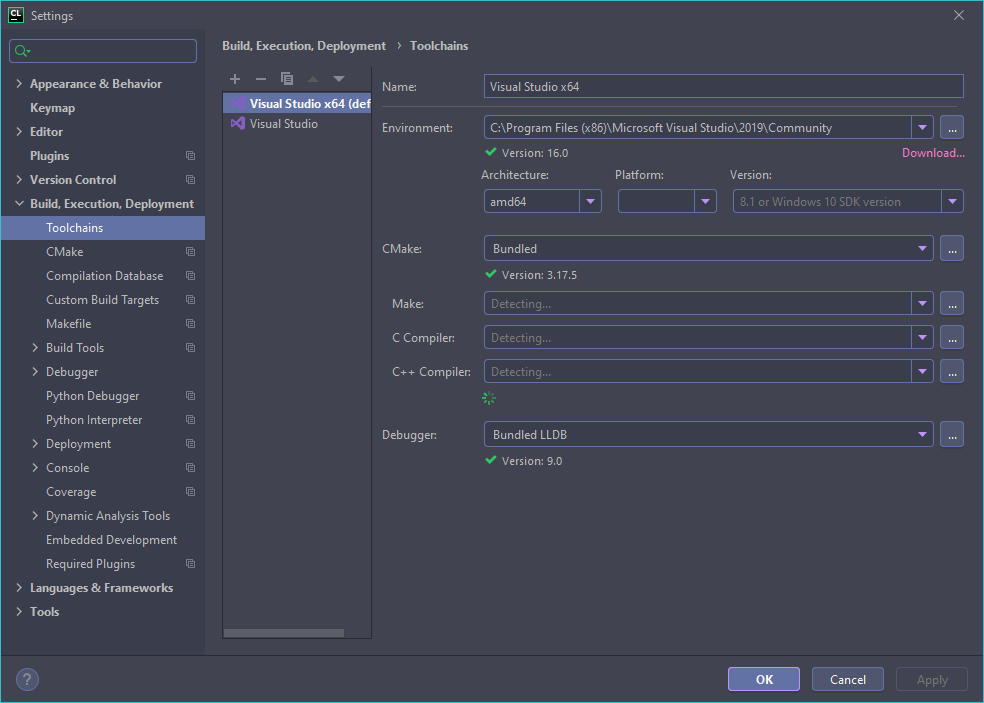
After installation, in CLion, make sure your Toolchain’s architecture is amd64.
Create CUDA Project In CLion
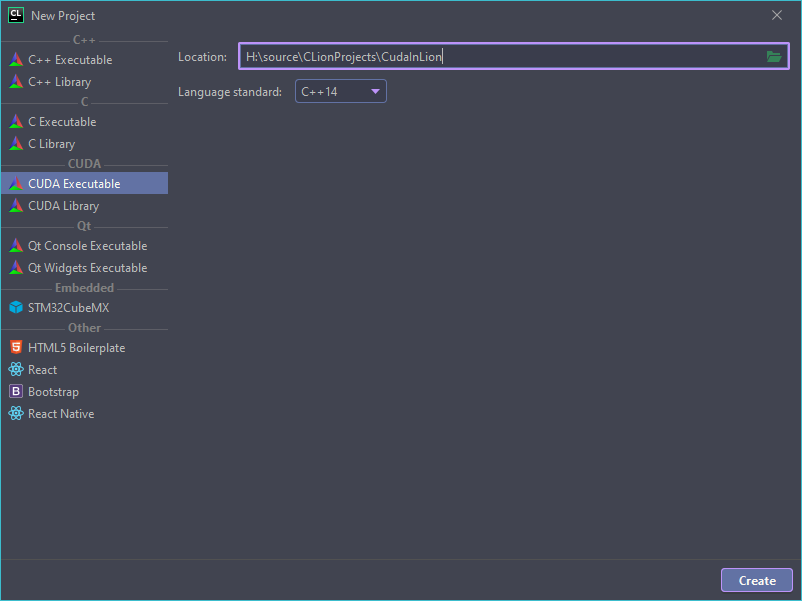
When creating new project in CLion, simply select “CUDA Executable” as the template.
Let’s modify the default main.cu and test if CUDA is working.
|
1 2 3 4 5 6 7 8 9 10 11 12 13 14 15 16 17 18 19 20 21 22 23 24 25 26 27 28 29 30 31 32 33 34 35 36 37 38 39 40 41 42 43 44 45 46 47 48 49 50 |
#include <iostream> using namespace std; static void HandleError( cudaError_t err, const char *file, int line ) { if (err != cudaSuccess) { printf( "%s in %s at line %d\n", cudaGetErrorString( err ), file, line ); exit( EXIT_FAILURE ); } } #define HANDLE_ERROR( err ) (HandleError( err, __FILE__, __LINE__ )) __global__ void add(int a, int b, int* c) { *c = a + b; } int main() { int count; HANDLE_ERROR(cudaGetDeviceCount(&count)); cout << "Found " << count << " device(s)" << endl; for (int i = 0; i < count; ++i) { cudaDeviceProp prop; HANDLE_ERROR(cudaGetDeviceProperties(&prop, i)); cout << "Device name: " << prop.name << endl; cout << "Total Memory: " << prop.totalGlobalMem / 1024.0 / 1024.0 << "MB" << endl; cout << "Max Threads per Block: " << prop.maxThreadsPerBlock << endl; cout << "Compute capability: " << prop.major << "." << prop.minor << endl; } int result; int* devResult; HANDLE_ERROR(cudaMalloc((void**)&devResult, sizeof(int))); add<<<1, 1>>>(7, 8, devResult); HANDLE_ERROR(cudaMemcpy(&result, devResult, sizeof(int), cudaMemcpyDeviceToHost)); cout << "7 + 8 = " << result << endl; cudaFree(devResult); return 0; } |
After build and run, you should see the following output.
|
1 2 3 4 5 6 7 |
H:\source\CLionProjects\CudaInLion\cmake-build-debug\CudaInLion.exe Found 1 device(s) Device name: GeForce GTX 970 Total Memory: 4096MB Max Threads per Block: 1024 Compute capability: 5.2 7 + 8 = 15 |
Now CUDA is working in CLion project!
Trouble shooting
When having the issue related to vcvars64.bat…
At the beginning, I got the following issue
“Could not set up the environment for Microsoft Visual Studio using ‘C:/Program Files (x86)/Microsoft Visual Studio/2019/Community/VC/Tools/MSVC/14.26.28801/bin/HostX64/x64/../../../../../../../VC/Auxiliary/Build/vcvars64.bat’
After some searching, the problem is due to %PATH% is too long. You need to remove the unnecessary paths from %PATH%. Actually, if you see any double quote in %PATH%, please also remove them.
When having the issue “Use of undeclared identifier cudaConfigureCall“
I also saw the following issue,
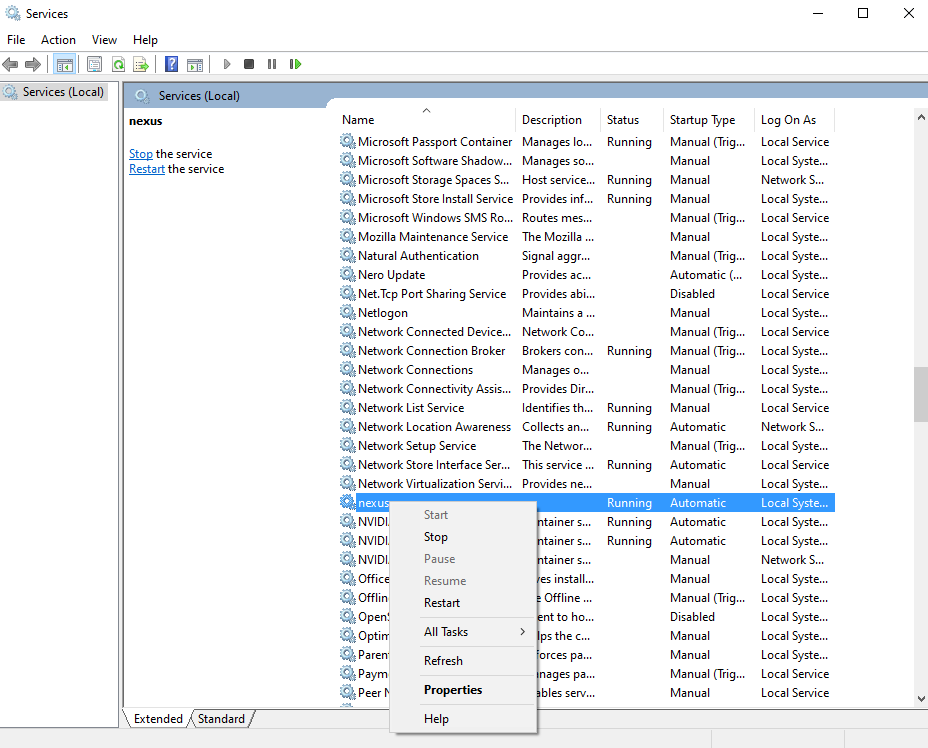
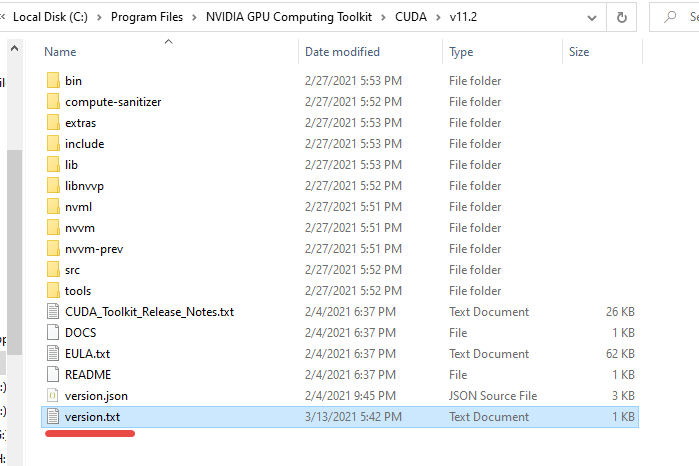
You probably are using CUDA 11. In this version, the version.txt file was removed. Instead, version.json was introduced. To solve this issue, you can simply create a version.txt with following context and copy it to where the CUDA is installed.
|
1 |
CUDA Version 11.2 |
After opening the CLion, the problem will be gone.
References
- CUDA projects – CLion
- I can not build CUDA project
- [CUDA 11]Use of undeclared identifier cudaConfigureCall