
After some investigation, I finally figured out how to install Ubuntu 16.04 into the new Raspberry Pi 3 B+.
Because the bootloader has been updated, with existing Ubuntu 16.04 images, Raspberry Pi 3 B+ can’t be booted. You will be stuck at the rainbow screen.
To fix it, the bootloader and some other driver files needs to be replaced. Here are the detailed instructions.
Download Ubuntu 16.04 Image File for Raspberry Pi 3
On this page, there are several options
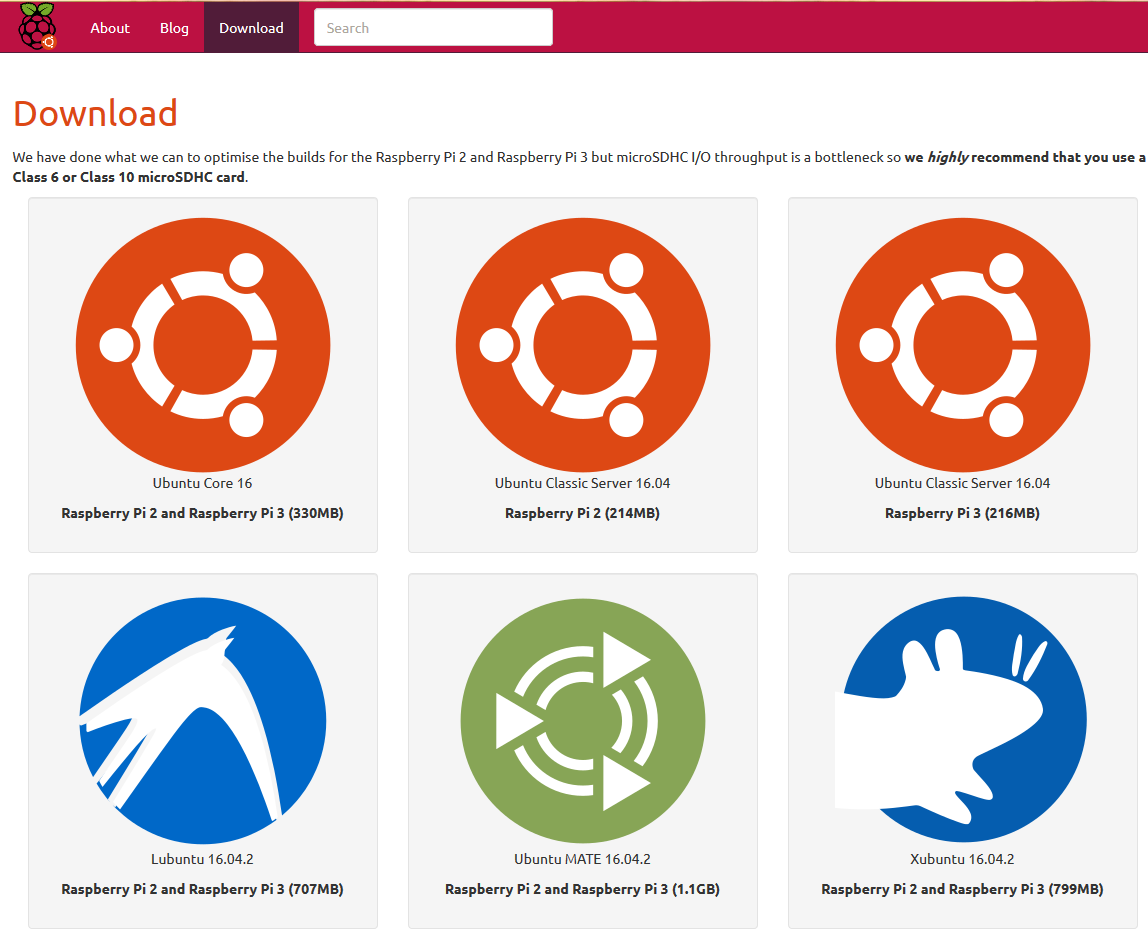
I am familiar with Xfce, so I downloaded the xubuntu 16.04.2 image file.
Burn the Image into SD Card
On Windows, you can use a free tool named Etcher

Replace the Bootloader and Driver Files
After burning, there will have two partitions in the SD card. One for boot PI_BOOT, the other for root PI_ROOT.
The latest Raspberry bootloader and other driver files can be downloaded from https://github.com/raspberrypi/firmware.
- Copy all boot files in folder boot into PI_BOOT partition.
- Copy all files/folders in folder modules into PI_BOOT/lib/modules
Boot it
Insert the SD card into Raspberry Pi 3 B+ and connect it the USB cable. It will be successfully booted.
A known problem so far. There has no default wireless network adapter. Need to use a USB wireless adapter.