
I had good experience with Nexus OSS 2.x and it was very easy to use. Based on it, the team built up Maven proxy server and Java private repository. The server had been served for many years and it helped team to finish thousands of builds without any problem.
To have better NPM repository support, it’s time to upgrade to a newer version of Nexus. Compared with JFrog’s Artifactory OSS, NPM and Gradle repository support is included in Nexus OSS version already.
Installation
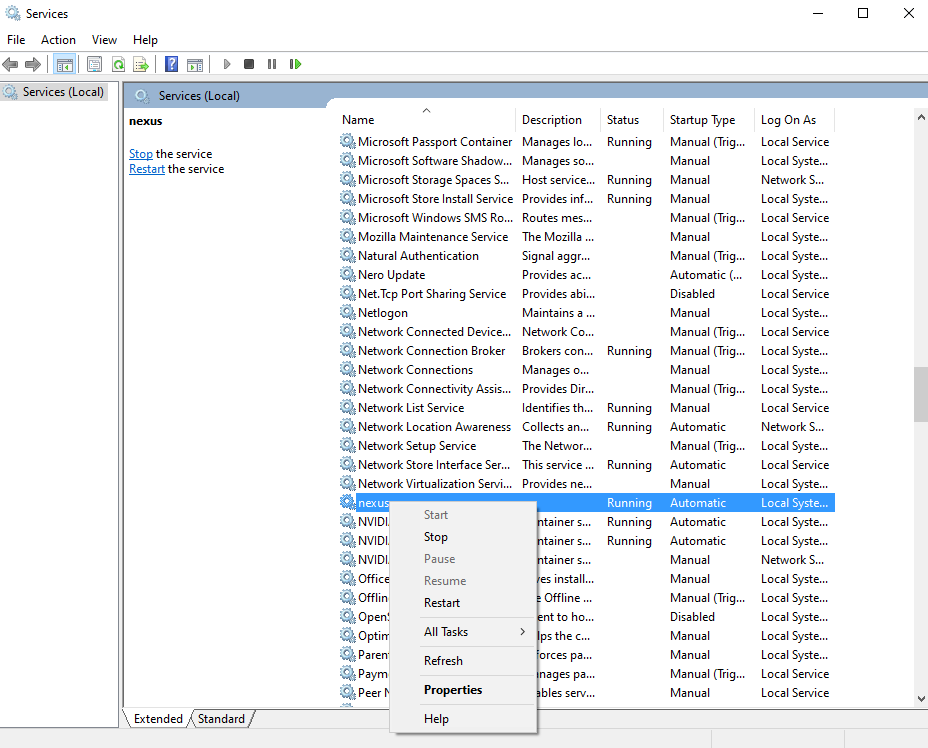
The latest Nexus OSS version can be download from here. Unzip it and go to /bin folder to start it. I am using Windows 10, so Nexus OSS can be installed as a Windows Service. Then you can start/stop the Nexus OSS server in Services Management.
|
1 |
./nexus.exe install |
When server starts, you can access the web page, default is http://localhost:8081.
Note: For the first time run, there needs to update the admin user’s password. Follow the instructions to finish it.
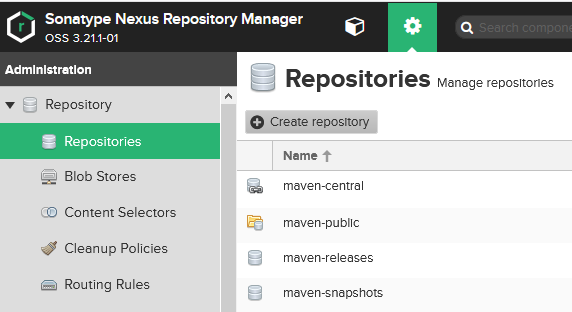
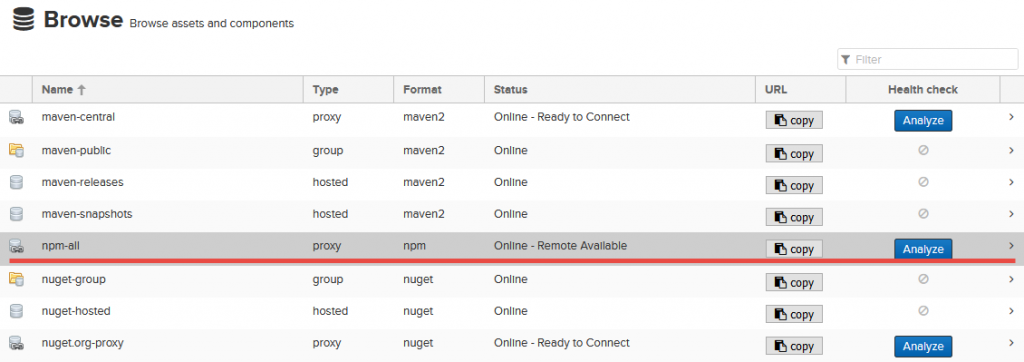
Create NPM repository
By default, there are Maven repo (can be used by Gradle as well) and NuGet repo. To have a NPM repo, you need to manually create it.
Use “admin” to log into Nexus, Open “Repositories” page and click “Create repository“.
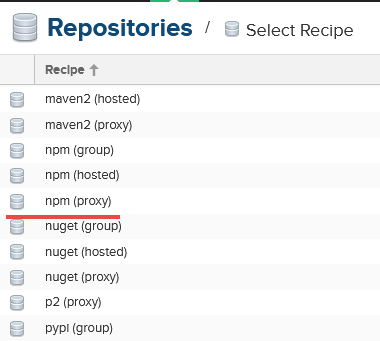
Select “npm proxy” in the Recipe list,
Put a name of the repository, such as “npm-all” and the “remote storage”.
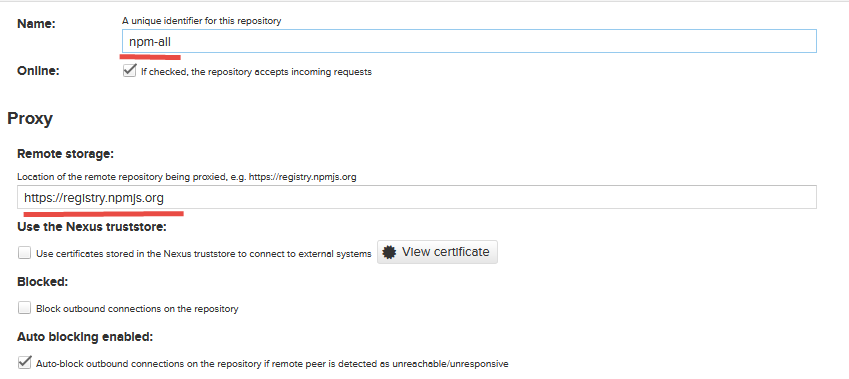
Click “Create repository” to finish the creation. Now a npm proxy server is ready for serving. The repo URL is http://localhost:8081/repository/npm-all/.
NPM and Yarn Configuration
For npm and yarn, you can use the following commands to use this proxy server respectively.
|
1 2 3 4 5 |
# npm npm config set registry http://localhost:8081/repository/npm-all/ # yarn yarn config set registry http://localhost:8081/repository/npm-all/ |
All done!